In God’s Own Country a unique dish has been perfected over the centuries as offering to the Gods. The Aravana also called as Nei Payasam is traditionally made in Bhagavati or Devi temples as ritual offering. Aravana Payasam is to Sabarimala Ayyappa what Laddoo is to Tirupathi Balaji. The rich sweet is made with raw rice, jaggery and ghee. There are different variants across regions / families / temples – but they are all time consuming and need skill and passion to execute perfectly. The unique aspect of this sweet is its long shelf life – and that’s probably why it is used in Sabarimala since the trek back in the past was arduous and long – and the Prasadam to be carried to the family had to last.
Families have passed on the tradition from generations – father to son. In the current generation there is a threat of this skill being lost. As fast food & automation replace passion and hard work there are very few who can follow the original recipe to perfection. Given the millions of cans that need to be made at the large temples automation has taken over and the authentic taste is lost.
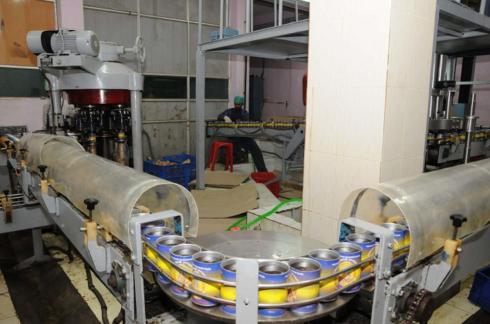
Aravana production in progress at the mechanised Aravana plant at Sabarimala Sannidhanam.
The Chirayathumadom family from Nadavarambu (Village in Irinjalakuda near Trichur) belongs to the Palghat Iyer clan. Known for their unique culinary skills, the secret family recipe of the Aravana Payasam they used to make as offering to their family deity Puthucode Bhagavati – is still kept alive by a few. Prominent among them is my cousin master chef Venkat who has perfected it over the years. We had the privilege of Venkat coming home and demonstrating how to make it. The recipe is precious – treasure it, try it and use it at your next family get-together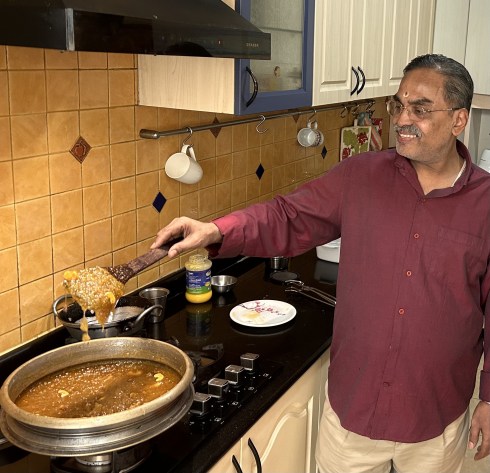
Here is the original recipe passed on over generations
ARAVANA PAYASAM (NEI PAYASAM) RECIPE
Time to cook 1 1/2 – 2 Hrs, 25 medium sized servings
1. Ingredients – 2 kg broken Jaggery (dark brown, not salty), 350-400 gms uncooked rice (Govind Bhog / small grains), 350-400ml of Ghee, one large cup each of of Coconut chips – rectangular 5 mm by 2 mm with copra on one side, Raisins and split Cashew ; a small cup of ground Cardamom.
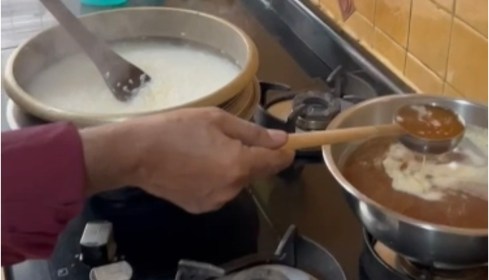
2. Equipment – Traditional Uruli or any thick bottomed deep and wide pan for making Payasam, another thick bottomed vessel to melt the Jaggery pieces in some water overheat, a vessel to pour the melted jaggery, one Aapai (deep ladle), one long wooden / metal spatula with rectangular shape (longer the better but should be at least 2 ft long), a small vessel to fry coconuts and cashew in ghee.
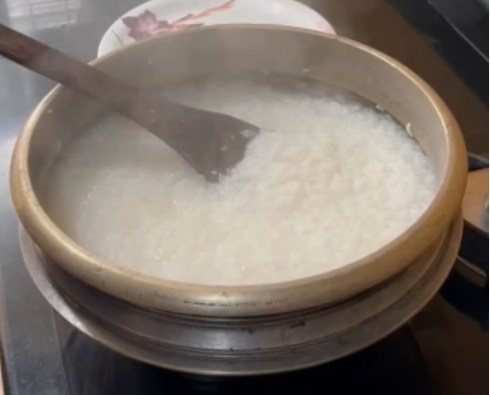
3. Wash the rice couple of times and strain to remove any impurities. Add 2 cups of water to Uruli and let the water come to boil. Add the rice to the boiling water and stir for about half an hour till rice is cooked. Keep adding some hot water occasionally as and when required till rice is 80% cooked. Keep gas in medium flame on large burner. Ensure the rice is not burnt, overcooked or raw.
4. As the rice is cooking in Uruli, parallelly melt the jaggery in the second thick bottomed vessel with some water by heating it. Pour the melted jaggery slowly into third vessel ensuring any sediments, grit, dust etc. do not flow into the third vessel with the jaggery. Important to note that the jaggery just needs to melt – dont let it becoming a thick concoction. The colour of the jaggery determines the final colour of the payasam. Look for good quality dark jaggery. Avoid readymade powder jaggery or with salty taste.
5. Once the rice is cooked 80%, start adding the melted jaggery one ladle at a time over the next 30-40 minutes, with continuous stirring of the rice mix so that the jaggery is fully absorbed by the rice.
Tip – How to know when to add each ladle of jaggery – as the jaggery gets absorbed and water content evaporates, the rice mix will get slightly viscous and you may notice some resistance while stirring and not see any water, – at this point add next ladle of melted jaggery and continue this process till less than 20% jaggery is left at which point you may pour all the jaggery liquid into the rice mix. Stir carefully but continuously so that the rice mix doesn’t get burnt at bottom of Uruli.
Tips – If available wear long sleeved gloves to safeguard against hot mix bubbling out of Uruli (this is why extra-long wooden ladle preferred so that one can stand at a distance while stirring). Also, the stirring speed should be slow but deep – avoid fast stirring since it will increase the amount of bubbles bursting as more air will get mixed into the rice.
6. About 50 min to 1 hr. from process start (i.e. Step 3 – starting to cook rice), the rice and jaggery mixture should be nice and relatively viscous. At this point start adding the ghee and keep stirring. The ghee now needs to get absorbed in the rice. Adding the entire 250 – 350 ml of ghee with stirring will take about 20 minutes and the mixture should be viscous again.
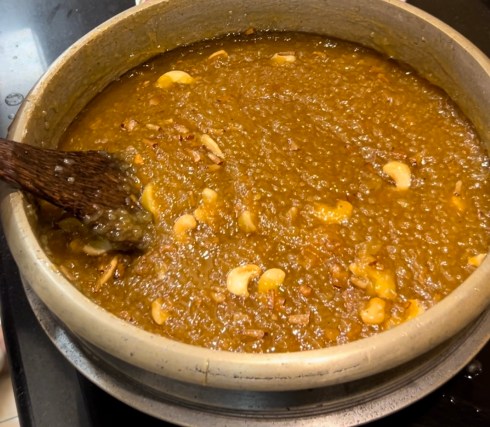
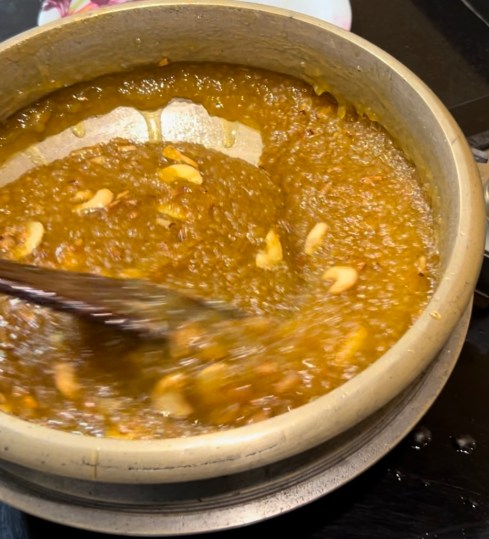
7. Add the raisins and keep stirring. Switch off heat. Add some more ghee on top. Parallelly, fry the coconut chips in separate vessel in ghee until they turn creamish brown, at which point add the split cashewnut also and keep frying till cashew also turns light brown. Pour the mix into the Nei Payasam.

8. Add a couple of Tulsi (Basil leaves) if available on top and Aravana Paayasam is ready to serve the Lord and then partake by all. Retain it in the Uruli for some time.

Important Points to note
- Practise makes it perfect – will take a few attempts to get it right. Dont get disheartened if 1st attempt is not a success.
- Use medium flame in big burner for entire cooking
- Preferably find a long ladle that has a rectangular top vs a round top.
- Keep jaggery broken / semi powdery – easier to melt . Important that jaggery should melt only and not become a thick syrup. Good quality jaggery is key to success. Some versions use Palm jaggery or dark brown cane jaggery.
- Don’t use long grained rice like Basmati. Some versions used Matta Rice – Parboiled Red Rice.
- You know you are getting it right when you observe while stirring that it is not sticking to the side of the Urli.
- The Payasam tastes best a day after cooking. If you have stored it in the fridge reheat before eating.
_______________

Leave a Reply